Learn JSP Hook for Liferay 7/DXP in 5 simple steps
April 27, 2022
In this ‘How to?’ series of posts, I am talking about different hooks and steps to create hook in Liferay 7/DXP.
In my last post, you learned about Filter hook. In this post, you will learn about JSP Hook. Before I proceed to explain you about JSP hook let me summarize list of hooks Liferay 7/DXP offers,
- Struts Action Hook
- Filter Hook
- JSP Hook
- Language properties Hook
- Model Listener hook
- Service Wrapper Hook
In case you have question why you need to implement JSP hook then here is the answer.
hook can help to override a behaviour of out-of-the box portlet’s user interface. For example, you want to display some caution message on Liferay login page, you can override login.jsp using hook.
Following are the prerequisite to start with hook implementation in Liferay 7/DXP.
Pre-requisites:
Creating a jsp hook is most straightforward and easy among other hook types. In this post, I have taken example to override login.jsp of login portlet. Following are the steps to create hook in Liferay 7/DXP.
Create Liferay Workspace Project:
To create a Liferay Workspace in IDE follow the following steps:
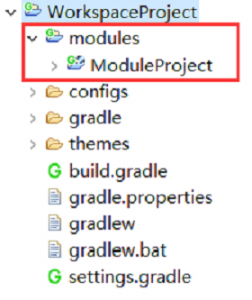
Select File menu → click New → select Liferay Workspace Project. Upon creation of the workspace, the structure should look like below:
Create a Liferay Fragment Module Project:
For Jsp hook you need to create a Fragment Module Project. To create it follow the following steps,
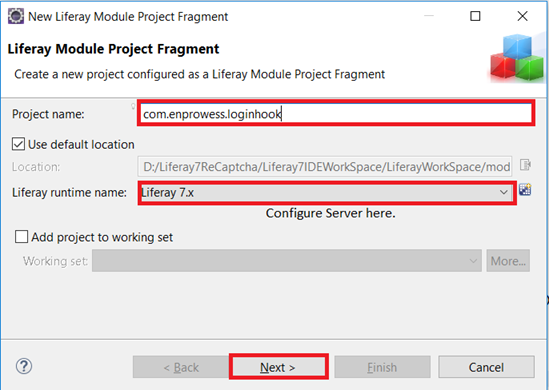
Open File menu → Click on New -> select Liferay Module Fragment Project
- Provide project name. for this example, I have provided name as enprowess.loginhook
- Select run time name. here I have given name as Liferay 7.x.
Select OSGI Bundle:
in this post I am extending login.jsp so you need to select relevant OSGI bundle.
You can search OSGI bundle using wild card search from Liferay IDE as shown in following screenshot,
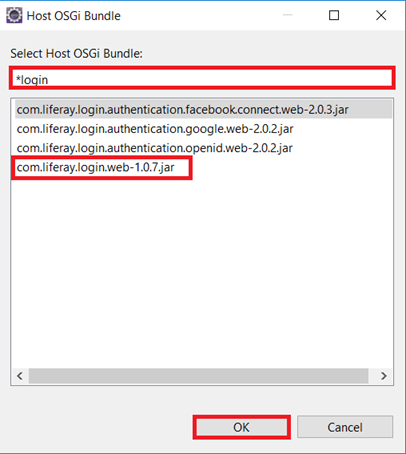
Select com.liferay.login.web-1.0.7.jar OSGI bundle for this example and click on ‘OK’.
Select JSP:
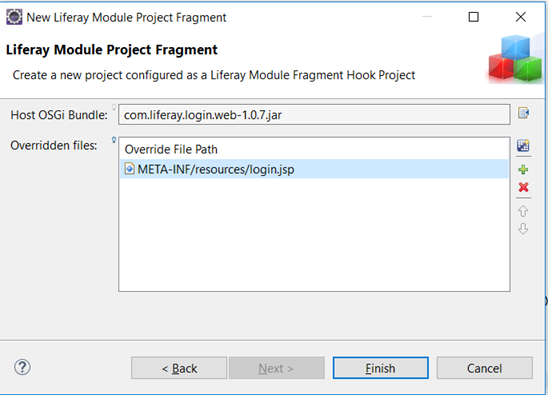
select JSP you want to override and click on finish. Here I selected login.jsp. see following screenshot,
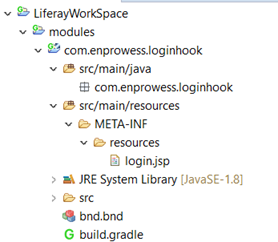
After you click on finish, you successfully created Liferay module. You should see folder structure as follow,
Edit JSP:
make the change you want in JSP and save it.
With this you successfully created JSP hook for Liferay 7/DXP and its ready to deploy. Hope you find these ‘How to? ‘series of posts useful. Please try the steps mention in blog and keep learning!
Blog By,
Maitrik Panchal